If you follow me on Instagram then you’ll know that over the last few weeks I’ve not been able to stop buying books. After reading nine in July alone and being on my fourth book for the month already, I clearly needed to add to my ever growing collection so I didn’t run out of book to read. I’m also preparing my big Autumn/Halloween bonanza and most of these books were brought in preparation for that. This is the biggest amount of books I’ve ever had to haul, the majority of them brought recently but there are also a few from March that I didn’t get to haul because with everything going on in the world, it didn’t seem right.

First and foremost I finally got my hands on The Queen Of Nothing by Holly Black. This is last book in the Folk Of The Air series and is one I’ve been dying to get my hands on for ages for the cover alone. The Folk Of The Air series follows Jude a mortal who grew up in the land of Fae alongside her twin sister Taryn. Yet even having grown up alongside the Fae, they still look their nose down at Jude and Taryn because they’re mortal. And after a series of cruel attacks and constant taunts from the High Prince himself and his gangs of unruly friends, Jude decides enough is enough and this series follows her as she schemes, deceives and even kills to gain some power in the Fae court. Holly Black writes Fae better than any other YA author out there and I can tell you from having already this that this is a final book that doesn’t disappoint.

A book I’d kept putting off until I said bugger it and brought it was Romanov by Nadine Brandes. I traditionally like paperbacks but will buy hardback if a) a paperback can’t be found or b) it’s a special edition. Romanov is one of those books that I can not for the life of me find in paperback. So I finally gave in and brought it in hardback. An Anastasia retelling this follows young Anastasia Romanov as she attempts to smuggle a spell book across the border to save herself and her family. It’s lot thinner than I thought it would be so I reckon this is going to be a quick read once I get round to reading it.

Another book I put off buying until recently is These Witches Don’t Burn by Isabel Sterling. Initially I planned on picking this up last year but I wasn’t reading as much and didn’t want it to just sit and gather dust until I decided to pick it up. This gives me major The Craft vibes following Hannah an elemental witch as she has to handle being in the same coven as her ex girlfriend Veronica whilst working out the mysteries of the blood ritual that was performed at her end of school bonfire that’s released dark magic throughout Salem. I’m holding off reading this until Halloween as it’s got the perfect Halloween vibes and I’m hoping to get its sequel sooner rather than later as well.

A book that has been on my radar for a while but only been recently released in paperback is House Of Dragons by Jessica Cluess. At first glance you’d think this was a heavy fantasy with dragons but in fact is centred around a competition to win their place upon the Dragon Throne. And it’s not just anyone that can enter and this years participators are far from the normal participants of the competitions. A liar, a solider, a servant, a thief and a murder are the five chosen to participate instead of the eldest child of each family. And each outcast has a secret of their own that they’re willing to go to any length to keep secret. Definitely one I’ll be jumping straight into once I’ve finished my August TBR.

Now this next book is thicc but one I’ve been wanting to read since I properly started getting back into reading in 2018. The Priory Of The Orange Tree looks like an intimidating read but in fact is a well written stand alone fantasy that builds an incredible world. I’ve never made a point of reading too deeply into the synopsis as I just want to dive headfirst into the world with no expectations. Considering how loved it is I’m sure I’m going to love it.

This book has been sat staring at me from my TBR pile since I brought it back in March. However one look at the cover and you understand why I’ve put off reading it. Dracul is inspired by notes from Dracula’s creator himself and tells the despairing tale of Bram Stoker’s journey as he wrote Dracula. The cover was the first thing that caught my eye followed by the synopsis and I knew that this book would be perfect to read at Halloween. You never know after I’ve read this I might actually be inspired to read Dracula like I’ve been saying I want to do for the last two years.

I said I rarely brought hardbacks but couldn’t resist when it came Chain Of Gold by Cassandra Clare. The first book in The Last Hours Trilogy, this book is set in Victorian times and follows the children of some of our favourite characters from previous series and novellas. I couldn’t resist buying this Collector’s First Edition from Waterstones and will be doing the same for Chain Of Iron when it’s released next year.
A book I brought back in March and really should have read by now is One Dark Throne by Kendare Blake. The second book in the Three Dark Crowns series, this picks up where book one finishes and follows the three sisters as their continue their journeys in the battle for the throne. I really should have read this by now and even completed the series but lockdown wasn’t as kind to me reading to start off with and it’s only been these last two months that I really got back into the swing of it.
Back in 2018 I read Jessie Burton’s The Miniaturist and loved it so when I saw this back in March I just had to pick it up. Whilst the synopsis aren’t the same, it just gave the same vibes as The Miniaturist and I knew I just had to read it.
Another book that I saw and just knew I wanted to read was The Familiars by Stacey Halls. Following a young baroness who’s been unsuccessful is birthing an heir is gifted a midwife who helps her to carry and birth a healthy heir. However said midwife is soon accused of witchcraft and sent to trial. Based loosely a around the Pendle Witch Trials, this seems like the perfect atmospheric Autumn read.
Another book I should have read by now is Holly Jackson’s sequel to the phenomenal A Good Girls Guide To Murder. Good Girl, Bad Blood follows Pip as she records her own podcast centred around the events of the first book. Yet she’s forced to put her detective hat back on when a close friend of hers goes missing. I brought this when it was released in April and have started it but just haven’t gotten round to finishing it.
Another atmospheric Autumnal/Halloween read that I’m looking forward to diving into is The Silent Companions by Laura Purcell. Newly widowed Elsie is sent to see out her pregnancy at her late husbands country estate. But it’s far from the life of luxury she expected. With resentful servants and hostile villagers, all Elsie is left with for company is her late husbands creepy cousin. This just screams creepy ghost story and I’m looking forward to reading this closer to Halloween.
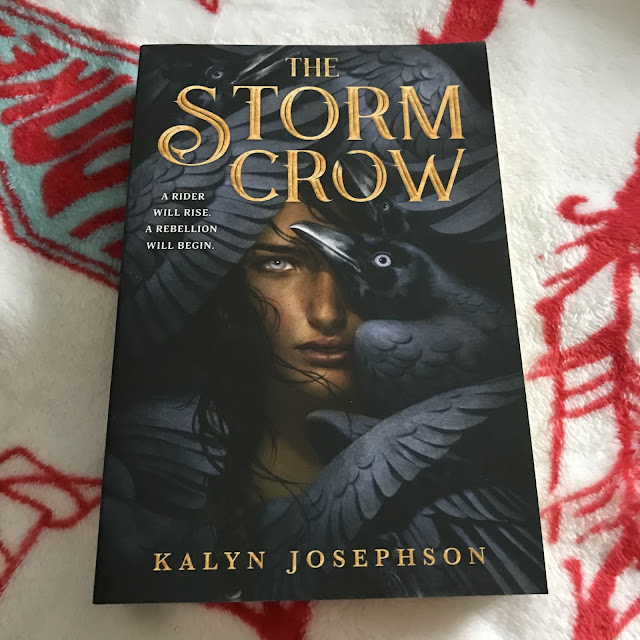
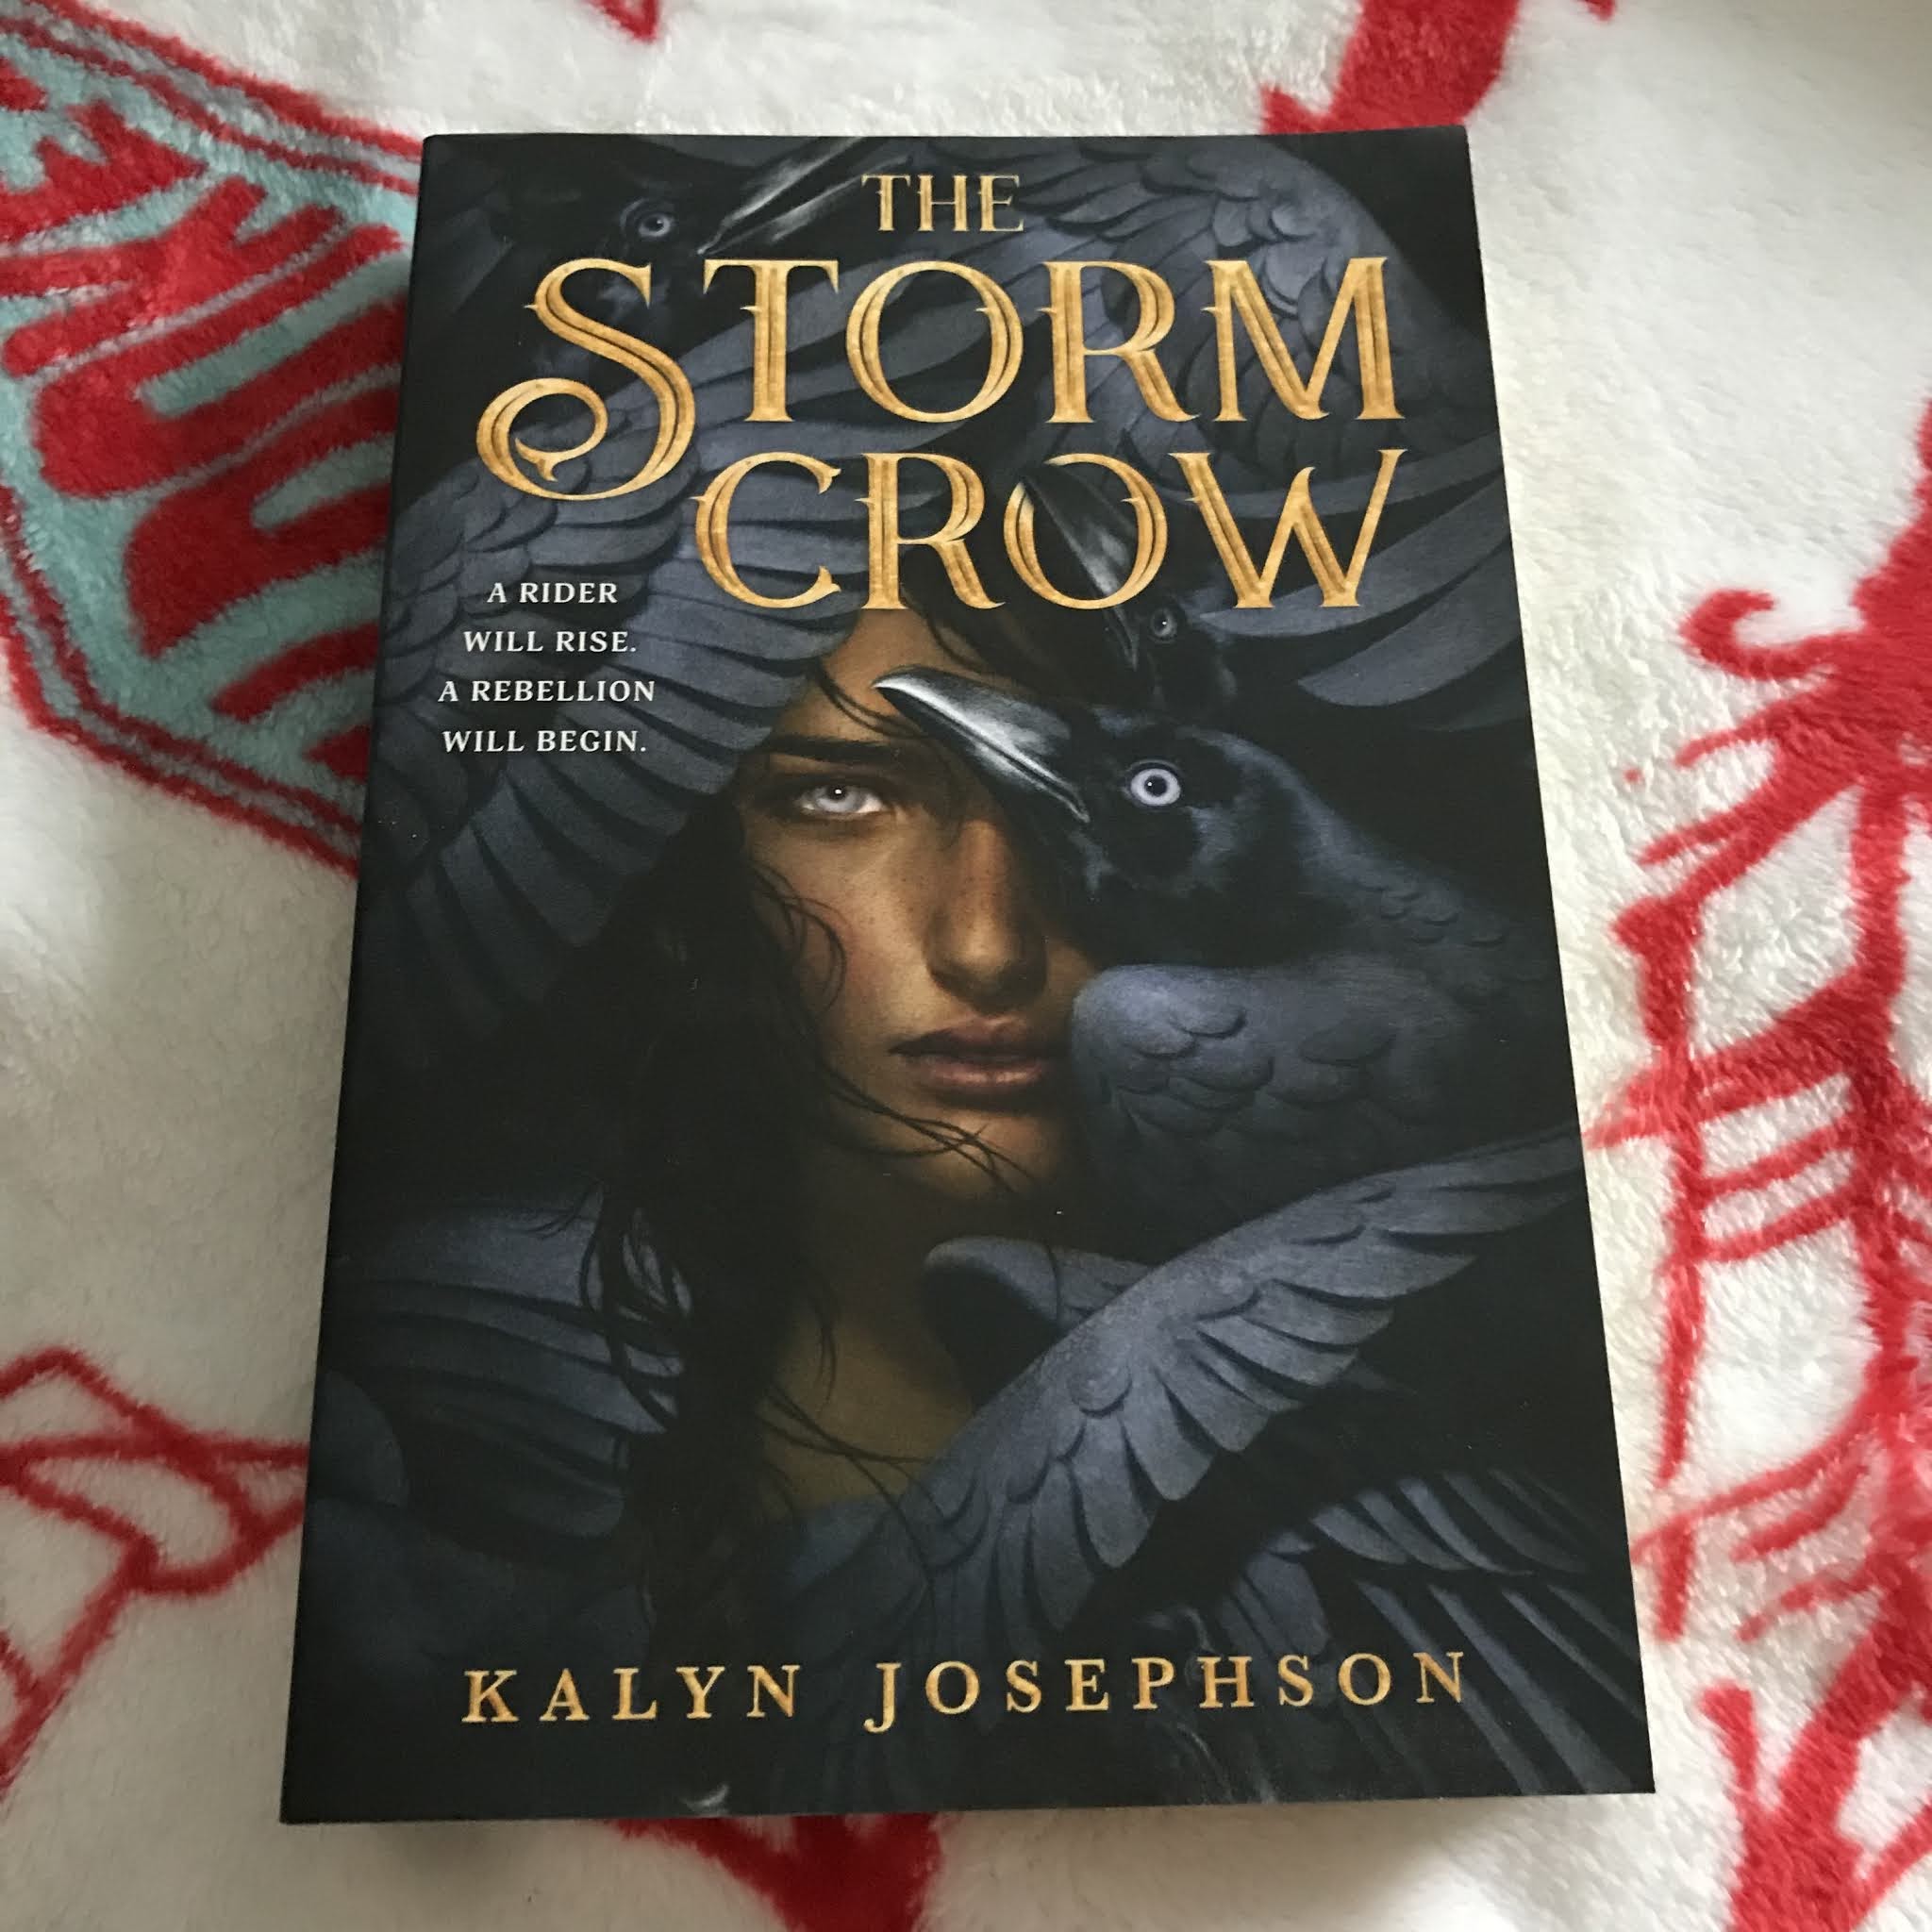
I brought this next book based entirerly on the fact that the cover caught my eye. Yet looking at the synopsis I think I'm going to love this book. The Storm Crow by Kayln Josephson is set in the kingdom of Rhodaire where magical, elemental Crows are a part of everyday life. That’s until a neighbouring empire invaded and destroys everything, leaving two sisters to mourn the death of their mother whilst trying to run their now ruined kingdom. This has a bit of everything in it, there’s a marriage betrothal, a hidden crow egg and a headstrong princess who’s determined to take back what was taken from them. Seriously I can’t wait to jump into this book, it seems like it’s going to be an engrossing read that I won’t be able to put down.

One of my most anticpated books has finally come out in paperback and I'm just itching to dive headfirst into it. Serpent and Dove by Shelby Mahurin follows the story of Lou who's fleeing her coven and ends up entangled in a matrimony of convenience and secrecy with Reid, a witch hunter that doesn’t know Lou’s secret. The second book in the series Blood And Honey comes out in September and I’ve already got it preordered so I can binge the two in the build up to Halloween.
This next book is part of my August TBR. Supernova is the third and final book in Marissa Meyer’s acclaimed Renegades series. The series follows Nova an Anarchist and Adrian a Renegade who are inexplicably drawn together even though they should be sworn enemies. I honestly can’t tell you much about this series as I’m only 60 pages in myself and still trying to immerse myself into the world.
This next book I’m beyond excited to read. Olivia from Oliviareadsalatte has been raving about it on her YouTube channel and I knew I just had to pick it up. Set in the 90’s this book follows a book club who turn their hand to vampire slaying after a stranger arrives in town offsetting a series strange events that involves the towns children. It gives me major early Buffy vibes and it’s killing me having to put off reading this until Halloween.

V.E. Schwab is an author I’ve been meaning to start reading for the longest time but just never got round to it. So when Becca from Becca and the Books read this on her channel, I just had to pick it up. Vicious follows a pair of old friends who are now enemies. Victor and Eli were once college roommates who’s senior year research takes a deadly turn leaving Victor to sit in jail for ten years. But after waiting for a decade he breaks out with the assistance of a young girl in possession of some extraordinary talents to track his old friend now for Eli. This has me intrigued and I can’t wait to finally read my first V.E. Schwab book.

This next book only needs to be described as library in hell to have anyone hooked. Or at least it did me. Library Of The Unwritten is set in a library in hell where all unfinished novels reside and restless characters attempt to escape. And it’s all down to Head Librarian Claire to keep everything in order. Yet when a Hero escapes his book and goes on a quest to find his author, it’s up to Claire to track and capture him. Now I don’t know about you but this book sounds like it could be a cracker that’ll have you reading until the wee hours. I for one can’t wait to crack this open when Halloween draws nearer.

This next book wasn’t even on my radar until I saw it on Instagram and after that I just knew I had to buy it. Written In Blood is the eleventh book in the Robert Hunter series by Chris Carter. A young pick pocket steals a bag with hopes of finding an expensive laptop inside but instead what she finds puts a serial killer on her tail. I know I keep saying I don’t buy hardbacks but when I saw this signed, .Waterstones exclusive with blood drop sprayed edges I just had to buy it. Chris Carter has quickly become one of my favourite crime writers and this new release was just too stunning for me to ignore.

Sorcery Of Thorns by Margaret Rogerson is now out in paperback so I obviously had to get myself a copy. Following a young girl who’s only dream is to guard the grimoires in her world’s library, she soon finds herself under the spotlight as a demon is released from one of these books and it’s up to her and a warlock called Nathaniel to bring it back. Yet she soon finds herself in a centuries old conspiracy that could destroy the Great Library itself. I’ve wanted to read this book for so long and now I have a copy, I can’t wait to get lost in this world.
Back in March I brought both of Tomi Adeyemi’s books, Children Of Blood And Bone and Children Of Virtue And Vengeance. Both from the same series they follow a young girl on a quest to avenge her mother and learn to control her powers in an attempt to overthrow the monarchy. I haven’t started these yet but they’re on my list to be read (hopefully) by the end of the year.
Back in the beginning of the year I brought the first book in the Shadow and Bone Trilogy and having been into a reading a whole series in one sitting mood lately, I picked up the following two books in the series. Alina Strakov is a refugee and considers herself to never being good at anything but what she doesn’t know is that the nation of Rakov rests on her shoulders. I’ve heard mixed reviews about this series but as I’ve never read a Leigh Bardugo book before, I’m trying not to let them cloud how I read this series.

And the last series I want to talk about is the Stalking Jack The Ripper Series by Kerri Maniscalco. I’m not going to lie, I’ve brought this purely to read at Halloween as they seem to have a perfect creepy tone that suits so well with spooky season. Both books have different plots but follow the same main character as she attempts to solve a series of investigations that are both morbid, morose and dangerous. I’ve been dying to read this since I first started adding books to the blog but for some reason kept putting it off. Now though I have two out of the four and I can’t wait to dive into them.