Showing posts with label easter baking. Show all posts

Wednesday, 17 April 2019

Recipe: Easter Shortbread

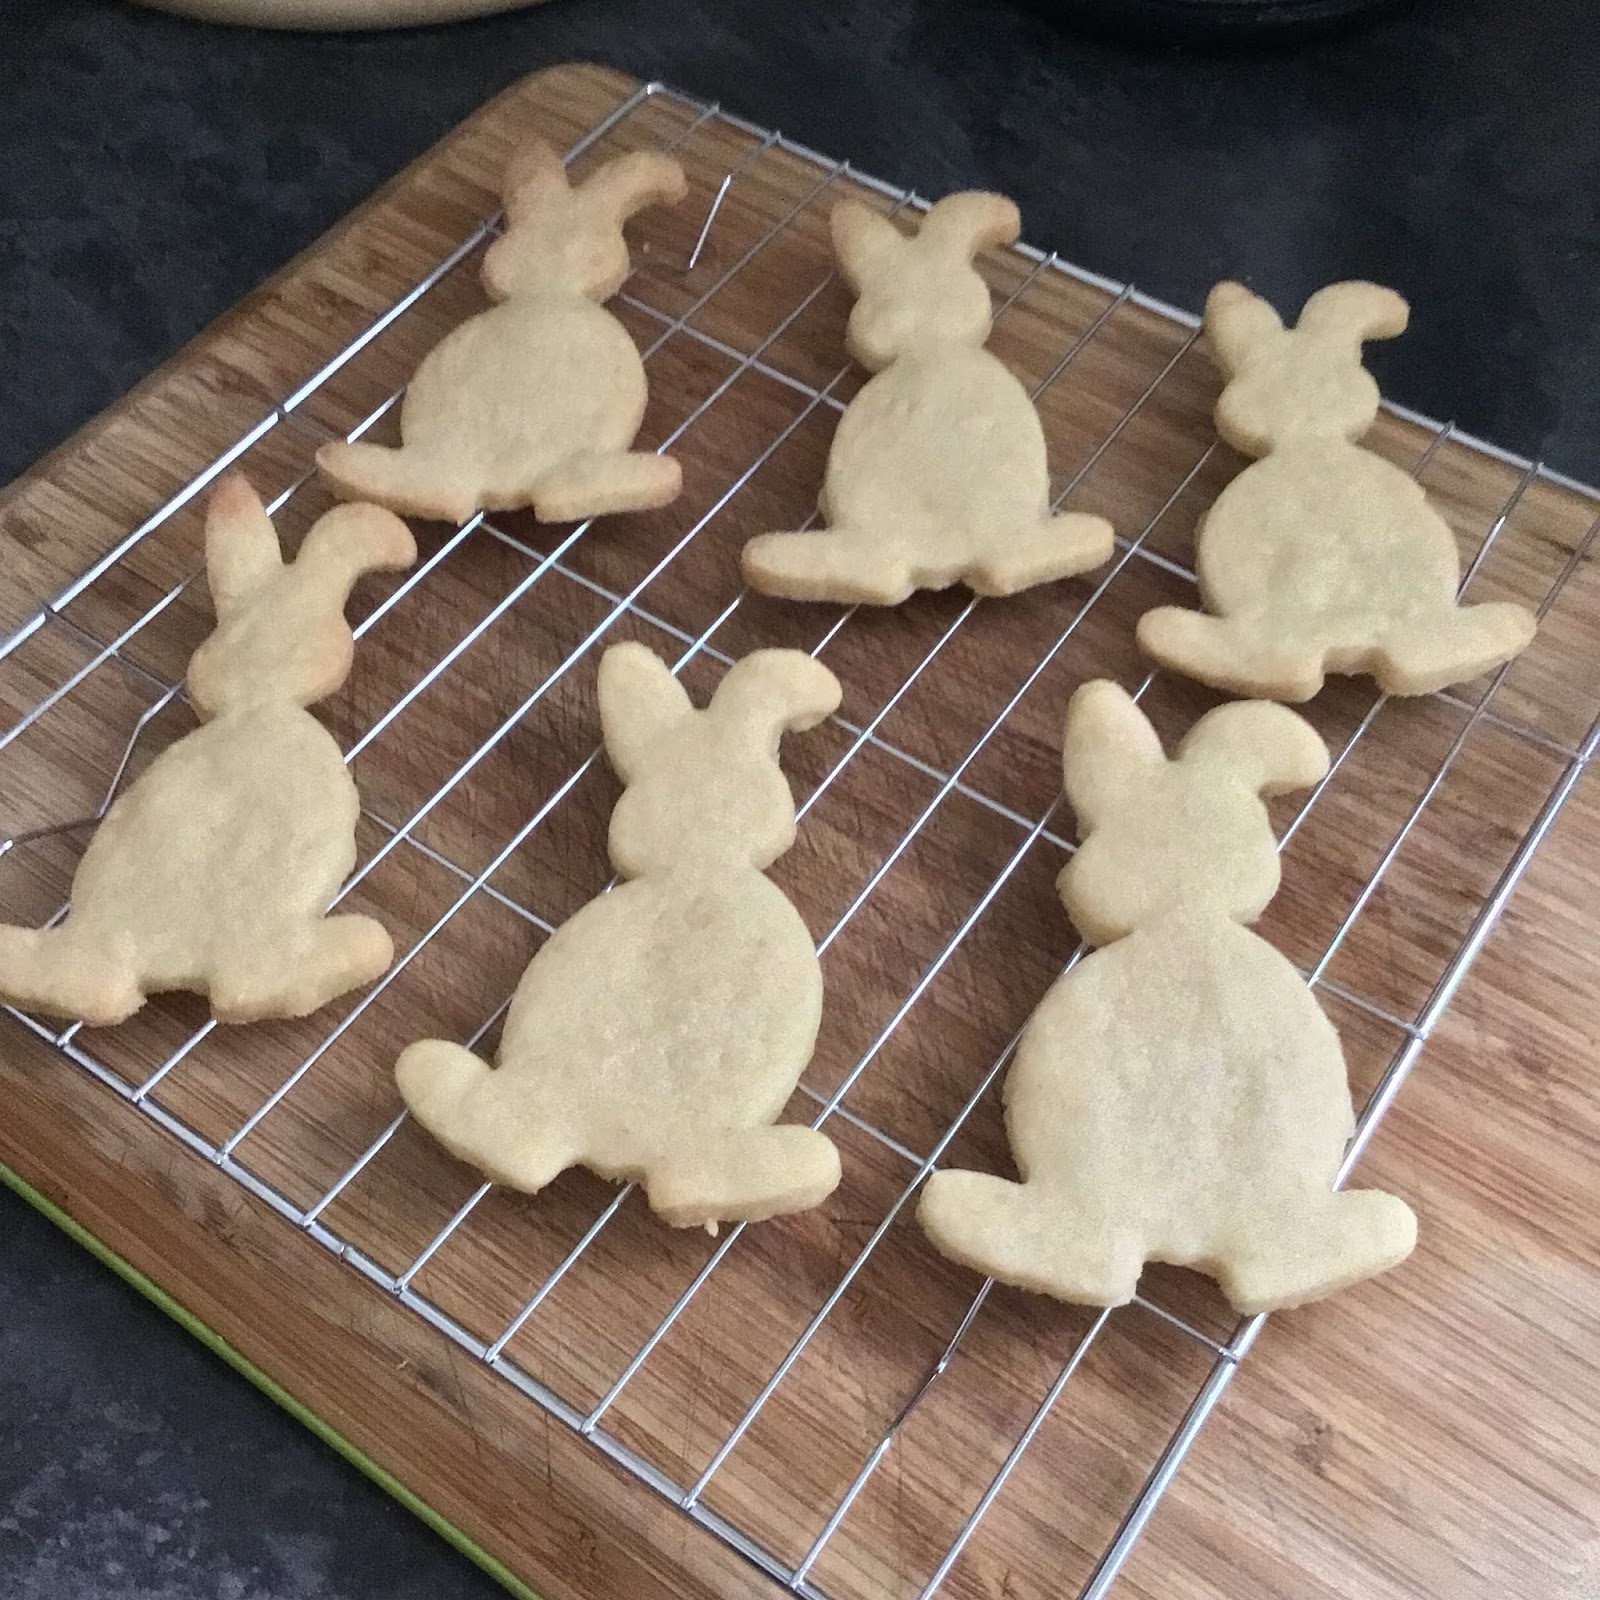
I absolutely love shortbread. I used to mostly eat it around Christmas when it's in every shop you look in but now since I've realised I can make my own that tastes almost as good as shop brought, I can't stop making it. And today I'm back with my Easter Shortbread Recipe which is essentially a basic shortbread recipe shaped like bunnies but they looked cute and I couldn't resist sharing them.

Ingredients 
- 115g Butter
- 55g Caster Sugar
- A Pinch Of Salt
- 175g Plain Flour

Method
1- Pre heat oven to 180C. Line two baking trays with baking paper.
2- In a bowl place your flour, sugar and salt.
3- Add your butter and rub together until the mixture resembles breadcrumbs. This doesn't take as long as you expect but if you want to make it quicker, you can easily put this all together in a food processor and blitz it together.
4- Continue to rub together until it forms a dough. This won't take long but if you do find your dough breaking or not coming together at all, add a little water or milk as a binding agent. However don't add too much or your dough will be wet and again won't come together easily.
5- Once you have your dough, place it on a lightly floured surface and roll it out until it's a 1/2 inch thick. Take care to flour your rolling pin as well as it might stick to the dough and you'll end up tearing a hole out of it as your rolling it out.
6- When you're happy with the thickness of your dough, take your bunnyshaped cutters and cut out as many shapes as you can, rerolling your dough when necessary to get the most out of it.
7- Place your shapes onto your prepared baking tray and bake for 10-15 minutes or until they're golden brown. When you take them out, you want the edges to be firm but the inside to still be a little soft, they'll soon firm up as they cool and you'll end up with delicious melt in the mouth shortbread.

Tuesday, 16 April 2019

Recipe: Mini Egg Cookies

Around Easter the shops are filled with the typical confectionary and cakes. Yet in my opinion they're overpriced and overrated when you can easily make a tasty and cute looking Easter treat at home. And this year that's what I've done. I've not allowed myself to be sucked in by the various treats on offer in shops and have made my own. I started with Mini Egg Rocky Road, Mini Egg Rice Krispie Nests and today I'm following them both up with Mini Egg Cookies.

Recipe 
150g Salted Butter, softened
80g Light Brown Muscavado Sugar
80g Granulated Sugar 
2Tsp Vanilla Extract 
1 Egg 
225g Plain Flour 
30g Cocoa Powder
1/2 Tsp Bicarbonate Of Soda
1/4 Tsp Salt 
150g Mini Eggs
Method 
1- Pre heat your oven to 180C. Line several baking trays with greaseproof paper/baking parchment. 
2- In a mixing bowl place the softened salted butter, granulated and muscavado sugar and beat until smooth and creamy. This may take a while as you don't want any lumps of sugar left in your mixture. 
3- Add the vanilla extract and the egg and beat again. This is where I take the opportunity to scrape around the sides of the bowl so that everything gets fully incorporated into the mixture. 
4- Sieve the salt, bicarbonate of soda, cocoa powder and flour into the mixture. I advise either using a pre sieved flour to save time or if your using a stand mixture, taking the bowl off the base and sieving it that way. It's a lot less messy, something you'll be grateful for later. 
5- Beat until everything is combined and you have the makings of cookie dough in your bowl. It may take a few minutes to start looking like something but the patience is worth it. 
6- Add your mini eggs and beat again until combined. I usually start adding it to the mixture with my stand mixer then taking it off the base and giving it a final mix with a silicone spatula so that everything is combined and nothing is left sitting up the sides of the bowl. 
7- Now it comes to making your cookies. You can easily use your hands to roll little balls of dough together but it can be messy and more likely to make a smaller batch of cookies. I like to use a batter scoop to make my cookies, they just come out more even and you'll be able to create a larger batch of cookies as each ball of dough will be the same size. 
8- Bake in the oven for 10-15 mins or until the edges of the cookies are firm to the touch. Don't worry if the centres are still a little wobbly, they'll soon firm up once they're out of the oven. 
9- Leave to cool on the tray for a few minutes before transferring to a wire cooling rack to cool completely. Allowing them to firm up on the tray means that each cookie is less likely to break when you transfer them to the cooling rack. 
10- Then all that's left to do is enjoy them. I quite like a couple of these with a cuppa whilst I catch up on my social media.

Thursday, 11 April 2019

Recipe: Cream Egg Cupcakes

Let me start this off by saying I can't stand Cadbury's Cream Eggs. There's something about the insides that is just to sickly for me to handle and that's saying something considering the sweet tooth I have. Yet the rest of my family adore them and after seeing a picture of a recipe similar to this on Pinterest, I thought that I'd treat them all by making them some Cream Egg inspired cupcakes.

Ingredients
For The Cakes
- 100g Stork
- 100g Caster Sugar
- 100g Self Raising Flour
- 25g Cocoa Powder
- 2 Eggs

For The Buttercream
- 200g Butter
- 320g Icing Sugar
- 2 Tsp Vanilla Extract
- 1 Tube Of Orange Dr Oetker Gel Food Colouring
- A Smidge Of Milk
- 6 Cream Eggs

Method 
1- Pre heat oven to 180C. Line a twelve hole muffin tin with paper cases or if you're using baking cups like I did, place them on a flat baking tray.
2- Into a bowl place the sugar and the stork. Cream together until pale and fluffy in texture. You can use either a stand mixer or a silicone spatula to do this so that you get a really creamy. fluffy texture.
3- Add one egg and a tablespoon of flour. Beat until everything is combined and then repeat with your second egg.
4- Once both of your eggs have been added, fold in the rest of your flour and the cocoa powder. This is the only part of the recipe where slow and steady wins the race. Overbeating the mixture at this point will knock out any air you've already built up and you'll end up with cupcakes that don't rise much.
5- Spoon your mixture into your prepared cases/cups and bake in the oven for 20-25 minutes or until a skewer comes out clean. Leave them to cool in the tin for five minutes and then transfer over to a wire cooling rack to cool completely.
6- Now it's time to make the buttercream. Into a clean bowl place the butter and beat until soft, smooth and creamy.
7- Sieve in half of your icing sugar and beat until combined. Then repeat with the rest of your icing sugar, beating until fully combined. It's key to scrape around the bowl repeatedly so that there aren't chunks of icing sugar sat unmixed in your buttercream.
8- Add your vanilla extract and beat until combined. Now is the best time to get a feel of your mixture. You'll quickly be able to tell if it's going to be stiff to pipe or if it's just right. If you feel it's a little stiff then add a smidge of milk and beat until fully combined.
9- Separate your buttercream in half. Add the orange food colouring into one bowl and beat until combined. There is not right or wrong when it comes to the colour of your buttercream. I kept my quite pale to try and match the inside of a cream egg but if you want yours to be brighter then just add more food colouring.
10- Prepare a piping bag firstly with a 2D Flower Nozzle then with alternating spoonfuls of your two different colour buttercreams. When you pipe it onto your cupcakes, you'll get a two tone swirl effect something akin to what the inside of a cream egg looks like when bitten or broken into.
11- Pipe onto your now cooled cupcakes. Cut a cream egg in half and add place on top of your buttercream. I'd advise buying more cream eggs than you actually need so that if there are any unfortunate accidents you'll still have enough to decorate your cupcakes.
12- Once you've decorated your cupcakes, leave to set and then enjoy.
Monday, 8 April 2019

Recipe: Mini Egg Rice Krispie Nests

Happy Monday! As a kid one of my favourite parts about the build up to Easter was getting to make Rice Krispie/Cornflake Cakes. And even at the ripe old age of twenty six I still love it. So today I'm sharing with you the recipe for them, it's perfect if you are just looking for a bit of nostalgia or looking for something to do with the kids over the Easter holidays.

Ingredients
- 400g Dairy Milk or Milk Chocolate
- 300g Rice Krispies
- 296g Mini Eggs

Method
1- Line two twelve hole muffin tins with paper cases. Even though you aren't cooking these, the tins will help them keep some sort of shape as they set.
2- In a bain marie, melt your milk chocolate over a low heat. I know it's tempting to turn the heat right up but you'll end up burning the chocolate. Slow and steady definitely wins the race with this one.
3- Once your chocolate is melted, pour over your rice krispies and mix until everything is covered in chocolate. It may seem like you need to melt more chocolate but you don't. 400g is enough, it just takes a little patience and elbow grease to get it done.
4- When everything is finally covered, spoon into your paper cases and decorate with the mini eggs. I went with three on the top of each nest as two seemed too stingy and four seemed like an overload. It also meant I had the perfect amount of mini eggs, even if I did help myself to a couple inbetween decorating them.
5- Leave to set and then enjoy. Or if your me, leave to set, tell your stepdad he can't have any repeatedly, photograph as quickly as possible and then watch as they get devoured.

Wednesday, 3 April 2019

Recipe: Mini Egg Rocky Road

I know I'm not alone when I say that Mini Eggs are hard to resist and that there's a likely chance that a good amount of them have been consumed before Easter is even a thought in anyone's mind. I for one am guilty of buying a bag for myself if I've had a particuarly hard day and it was one of these days that got me thinking what recipes would work well with the addition of Mini Eggs. The answer was a lot but I narrowed it down to three, simple yet delicious recipes, the first of which I'm sharing with you today.

Ingredients
- 200g Dark Chocolate
- 135g Butter
- 200g Digestives, crushed
- 100g Mini Marshmallows
- 100g Mini Eggs
- 2-3 Tbsp Golden Syrup

Method 
1- Grease and line a 18cm square baking tin with greasproof paper.
2- In a saucepan place the dark chocolate, butter and golden syrup.and melt together. Stir continuously so that nothing gets stuck to the bottom of the pan.
3- If you haven't already crushed your digestives, then crush them now. Don't worry if you have a variety of sized chunks, it'll just add to the end look of your rocky road.
4- Add the biscuits, marshmallows and mini eggs to your chocolate mixture. Combine everything with a wooden spoon/spatula until everything is thoroughly coated in chocolate.
5- Pour into your prepared tin, using you spoon/spatula to spread it out evenly.
6- Chill for a minimum of two hours, checking intermittedly, in the fridge. Once it's completely set, cut into squares or slices and enjoy. 

Monday, 12 March 2018

Recipe: Mini Egg Rocky Road

                        
We've been inundated with Mini Eggs everywhere since the beginning of the year and with Easter fast approaching, I thought I'd better pull my finger out and get sharing some Easter recipes I've been planning for a while. Now I'm not going to lie, they will consist mainly of Mini Eggs purely because I'm not a fan of a Cream Egg and don't want to mess with the perfection that is Cadbury's Caramel Eggs.

To kick everything off I'm starting with Rocky Road. I'd like to say this is simple and perfect for beginner bakers but it's taken me four attempts to get it perfect. Some of it was down to the wrong amount of chocolate but most of it was down to me burning the chocolate as I melted it over a bain marie. I being the impatient cow I am put the heat too high and essentially let it burn over each time. So let that be the biggest thing you take from this recipe, be patient, keep the temperature low and don't stop stirring the mixture.

Ingredients
- 400g Milk Chocolate
- 125g Unsalted Butter
- 125g Golden Syrup
- 100g Mini Marshmallows
- 200g Digestives, broken up
- 200g Mini Eggs, with a few left over for snacking on

Method
  1. Line a baking tray with cling film or baking parchment. The tin can be as big or as deep as you like, it all depends on how you want your rocky road to turn out. And I'd advise lining your tin with a strip of cling film/baking parchment horizontally then another one vertically as it'll make it easy to remove it from the tin later on. 
  2. In a bowl over a pan of water place the golden syrup, chocolate and butter. Melt on a low temperature, stirring the mix consistently to make sure everything melts evenly. It's best to make the butter and chocolate as small as possible as it means that's it more likely to melt quicker at a lower temperature. And whilst it may seem tempting to turn the temperature up, don't! It's only going to end in disaster and then you'll be annoyed with yourself, trust me I'm speaking from experience. 
  3. Whilst the chocolate is melting, I'd advise putting the rest of the dry ingredients together into a large bowl so that you can just go straight in with the chocolate mix when it's ready. 
  4. Once the chocolate mixture is completely melted and combined, pour over your dry ingredients and mix together with a wooden spoon, making sure to cover everything liberally. 
  5. Once you're happy with how it looks, pour into your prepared tin and smooth down with a spatula. Then just pop it into the fridge for a few hours to set. 
  6. Once it's set all you've got to do then, is cut it and enjoy.